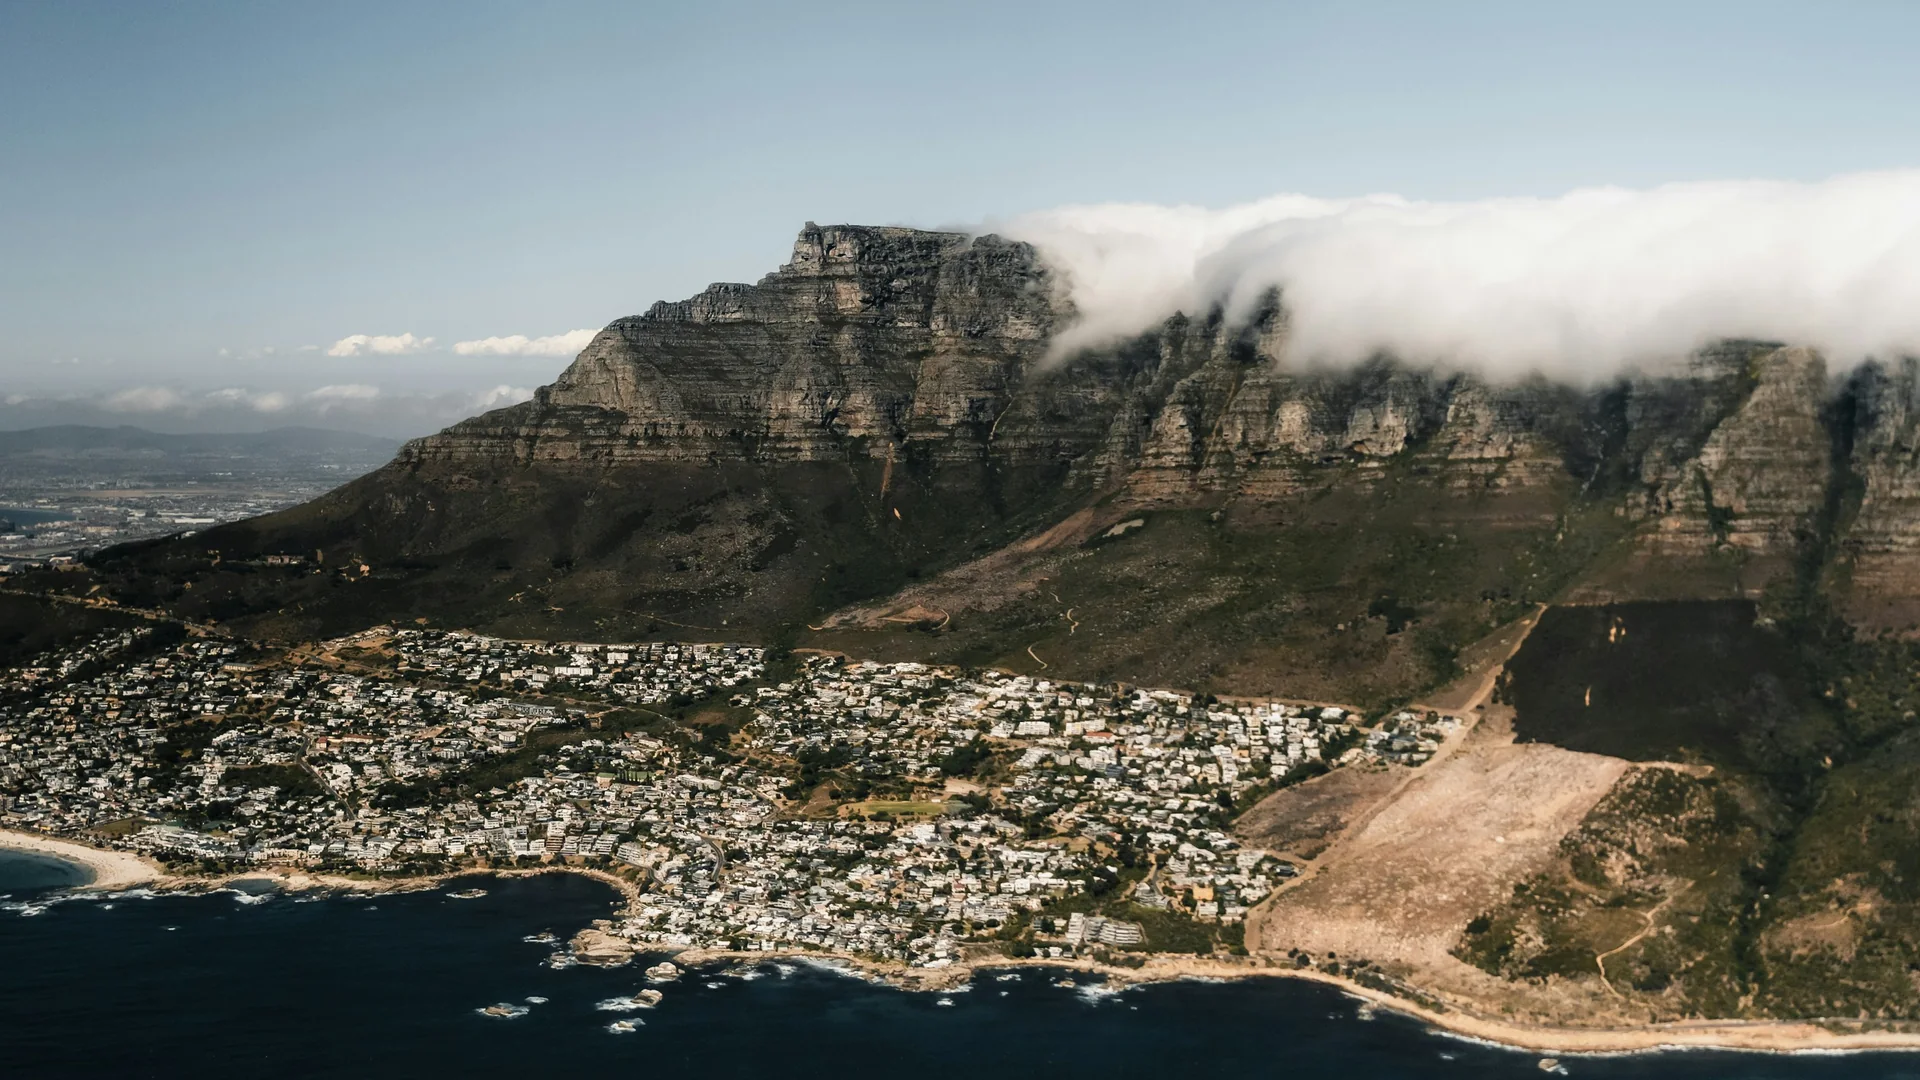
Cape Town and Table Mountain
Photo by xandro Vandewalle.
Original photograph · Unsplash Licence
Changes: Cropped to a 16:9 landscape, resized and converted to WebP. Display crops vary with the page layout.
Thank you to the photographers whose work brings the Cape Town & Beyond collection to life.
Each photograph below links to its original source and licence. Images have been adapted for display on this website. Photographer and source credits do not imply endorsement of Why Not Africa Tours.
Back to Cape Town & BeyondPhoto by xandro Vandewalle.
Original photograph · Unsplash Licence
Changes: Cropped to a 16:9 landscape, resized and converted to WebP. Display crops vary with the page layout.
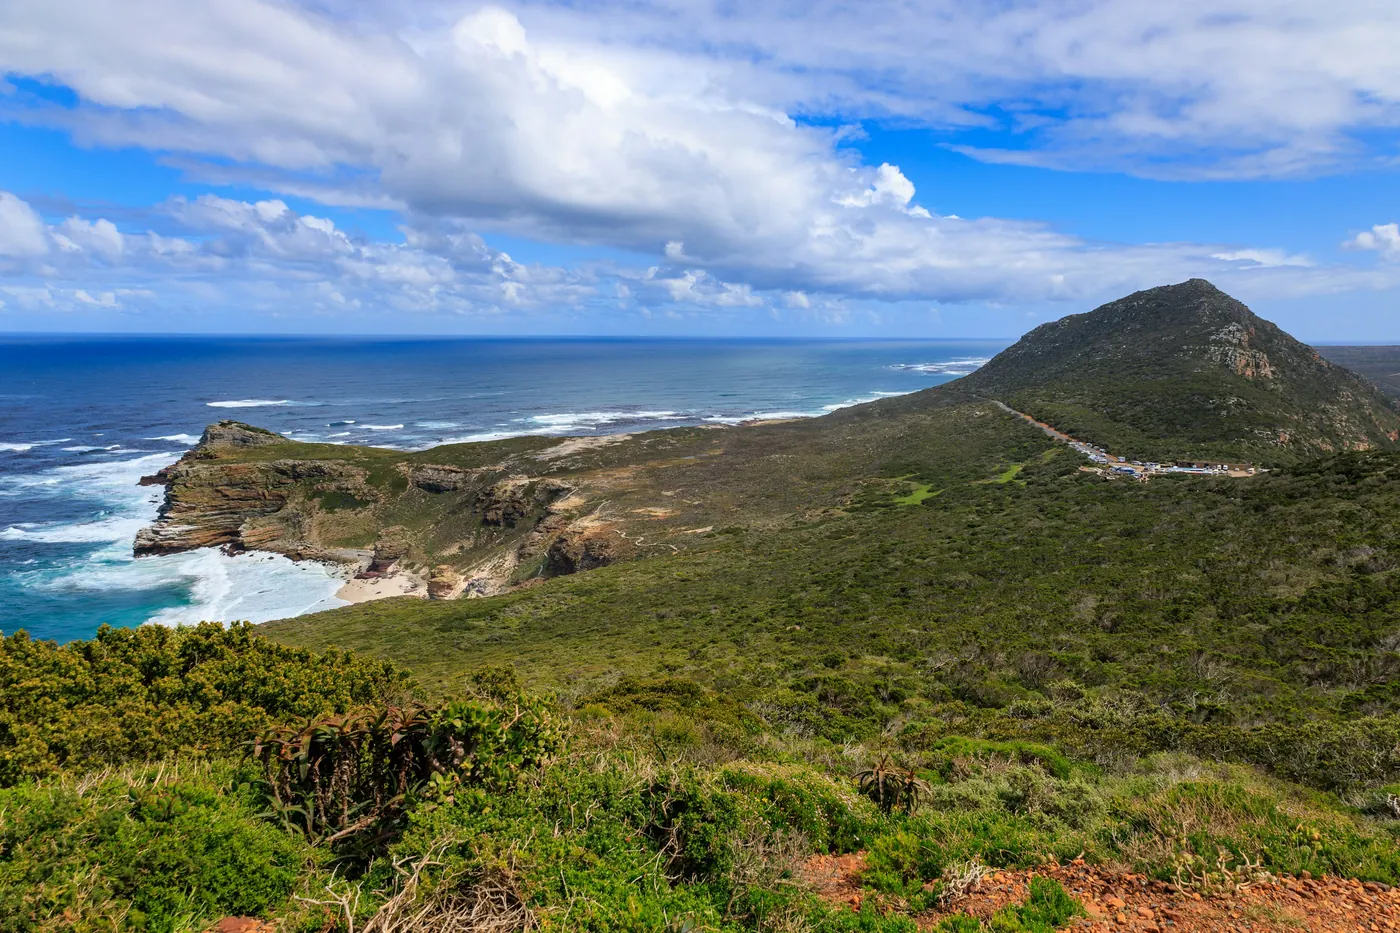
Photo by Martijn Vonk.
Original photograph · Unsplash Licence
Changes: Resized and converted to WebP. Display crops vary with the page layout.
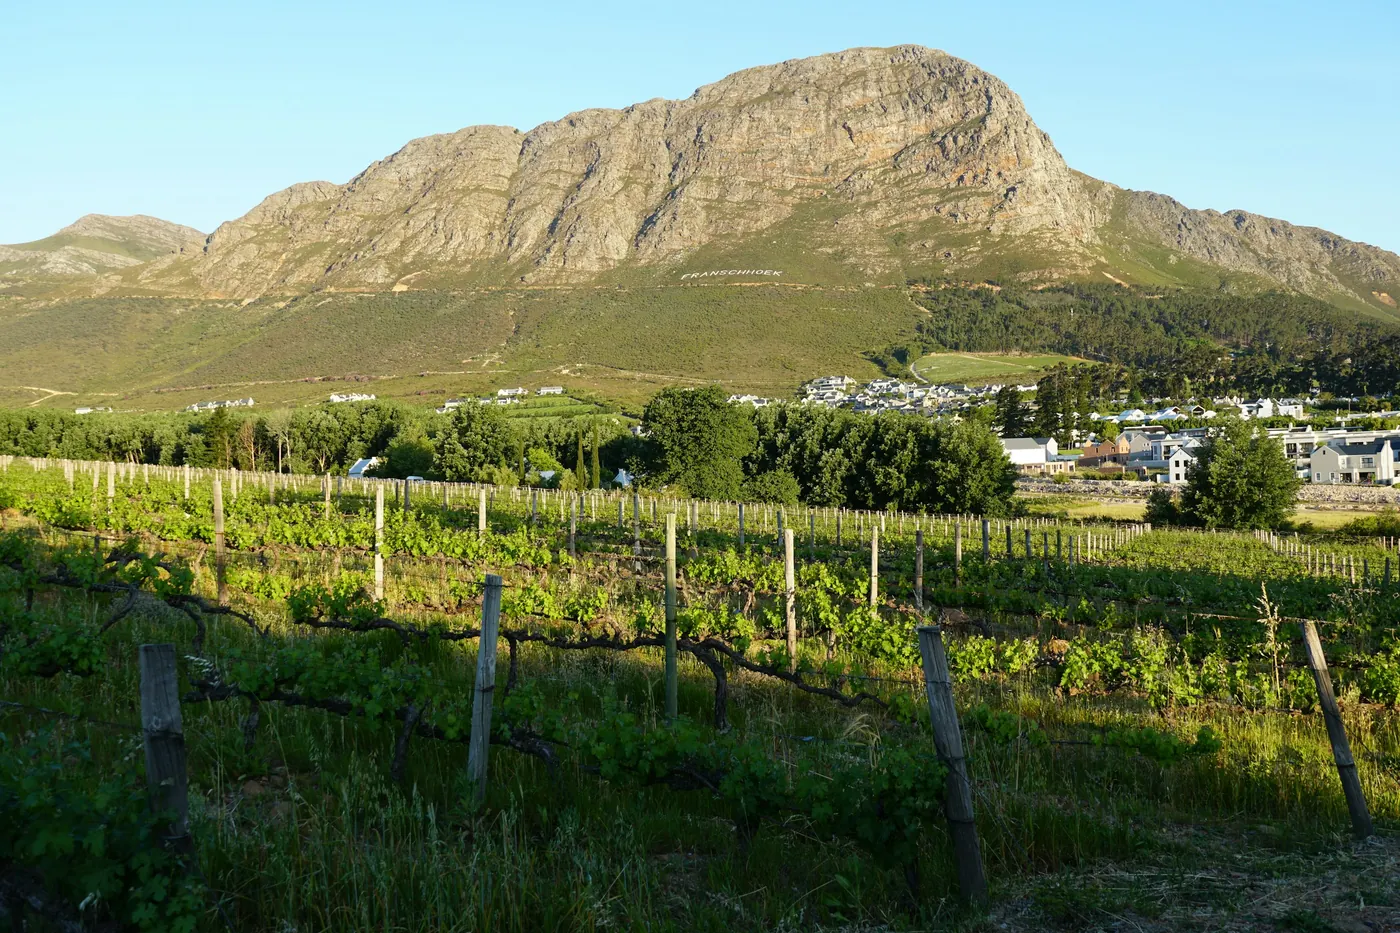
Photo by Sheila C.
Original photograph · Unsplash Licence
Changes: Resized and converted to WebP. Display crops vary with the page layout.
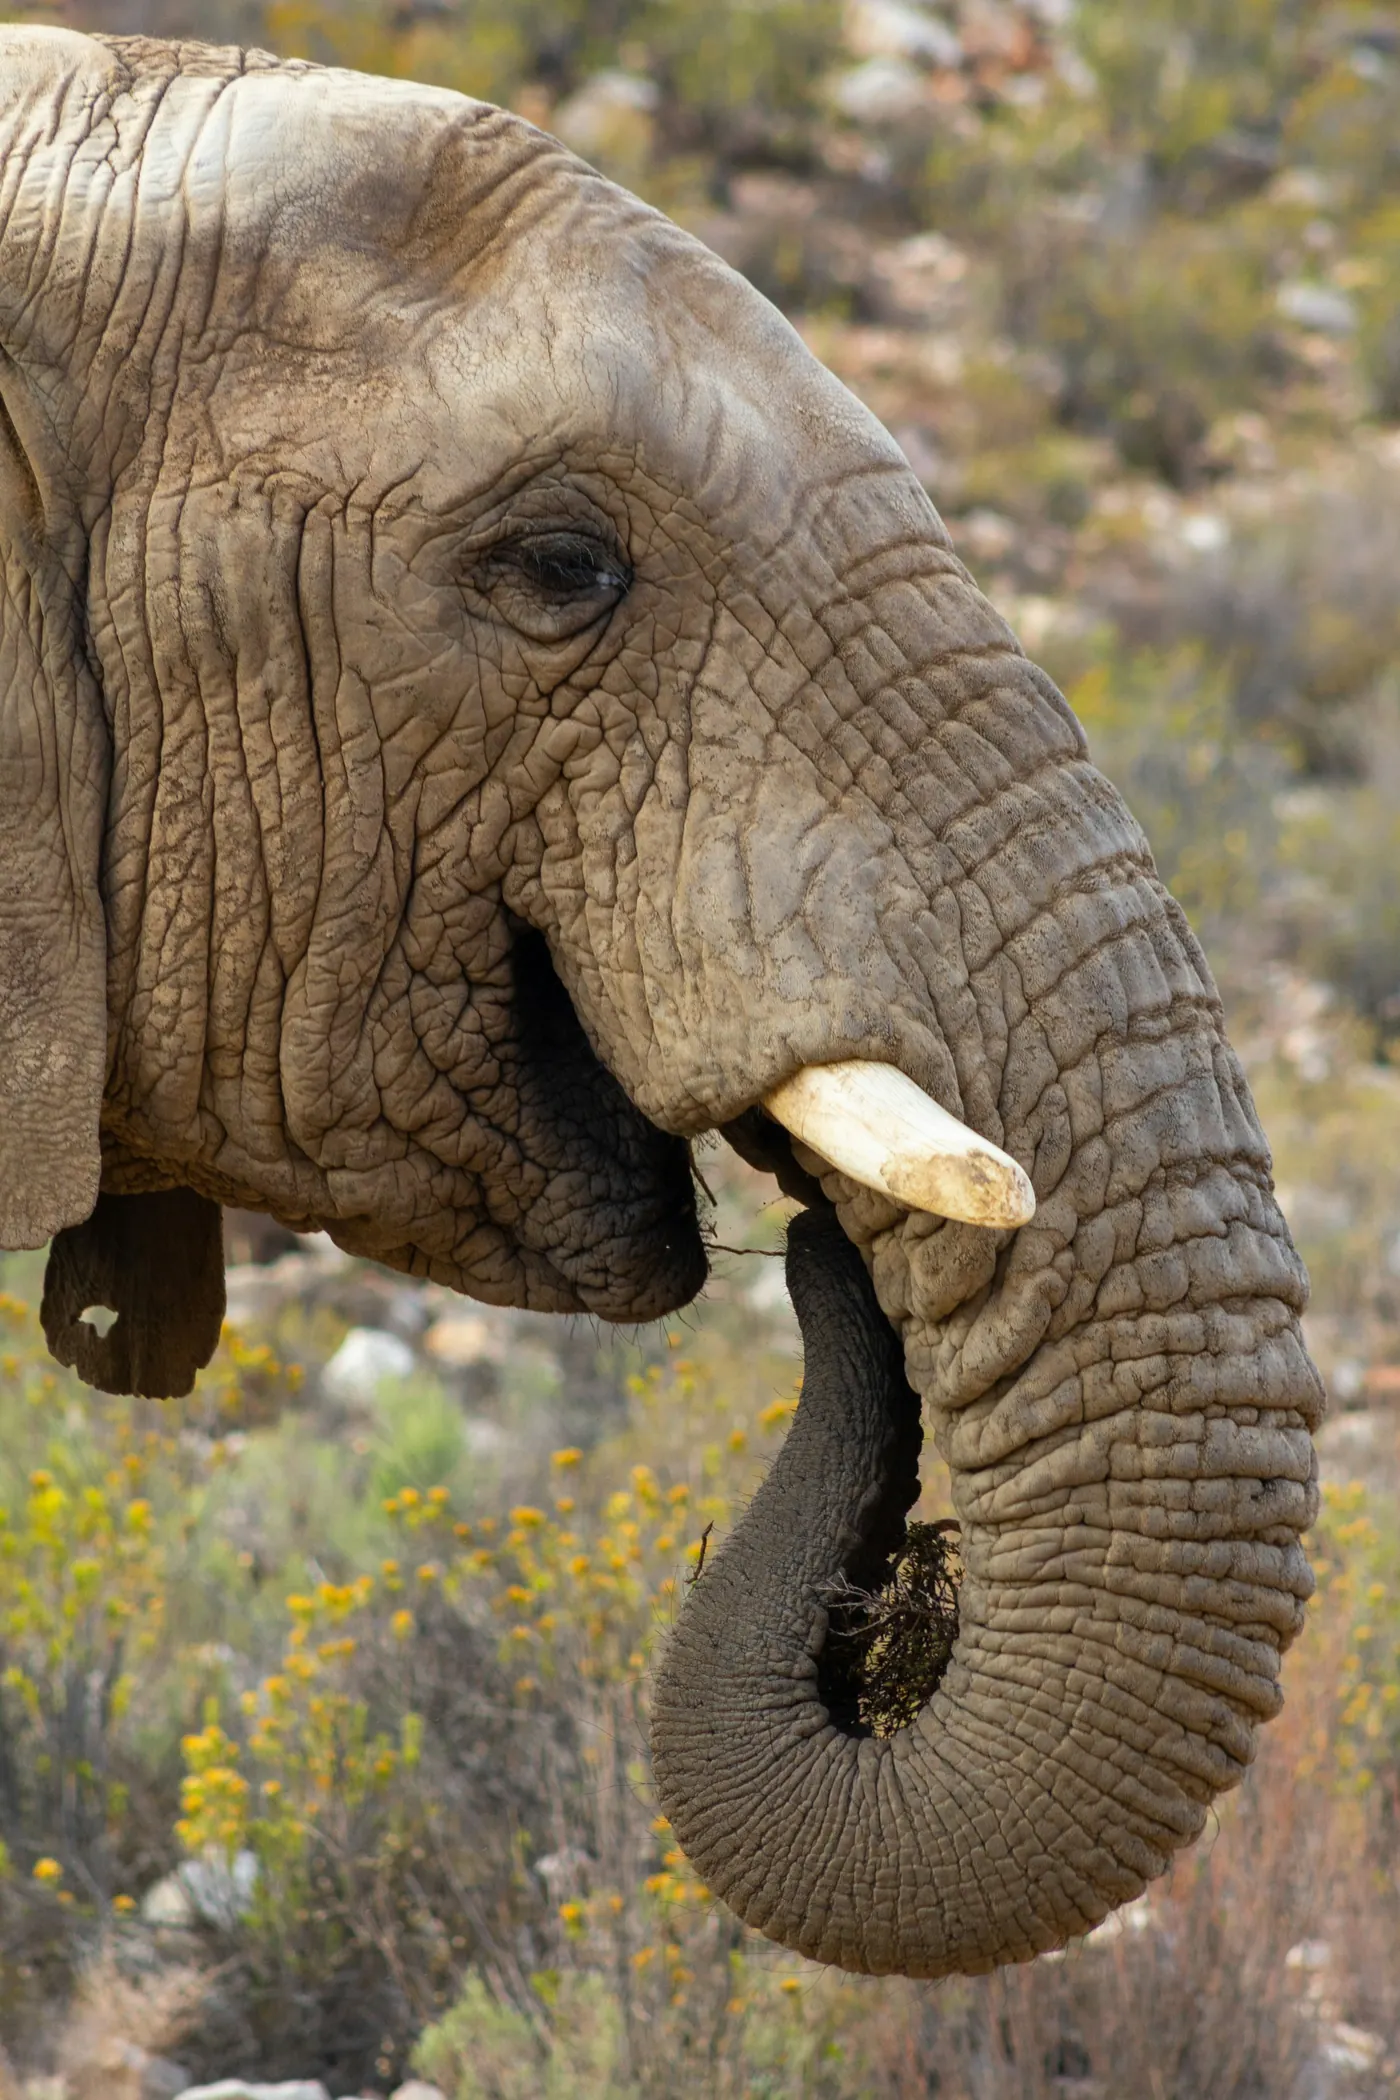
Photo by Marlin Clark.
Original photograph · Unsplash Licence
Changes: Resized and converted to WebP. Display crops vary with the page layout.
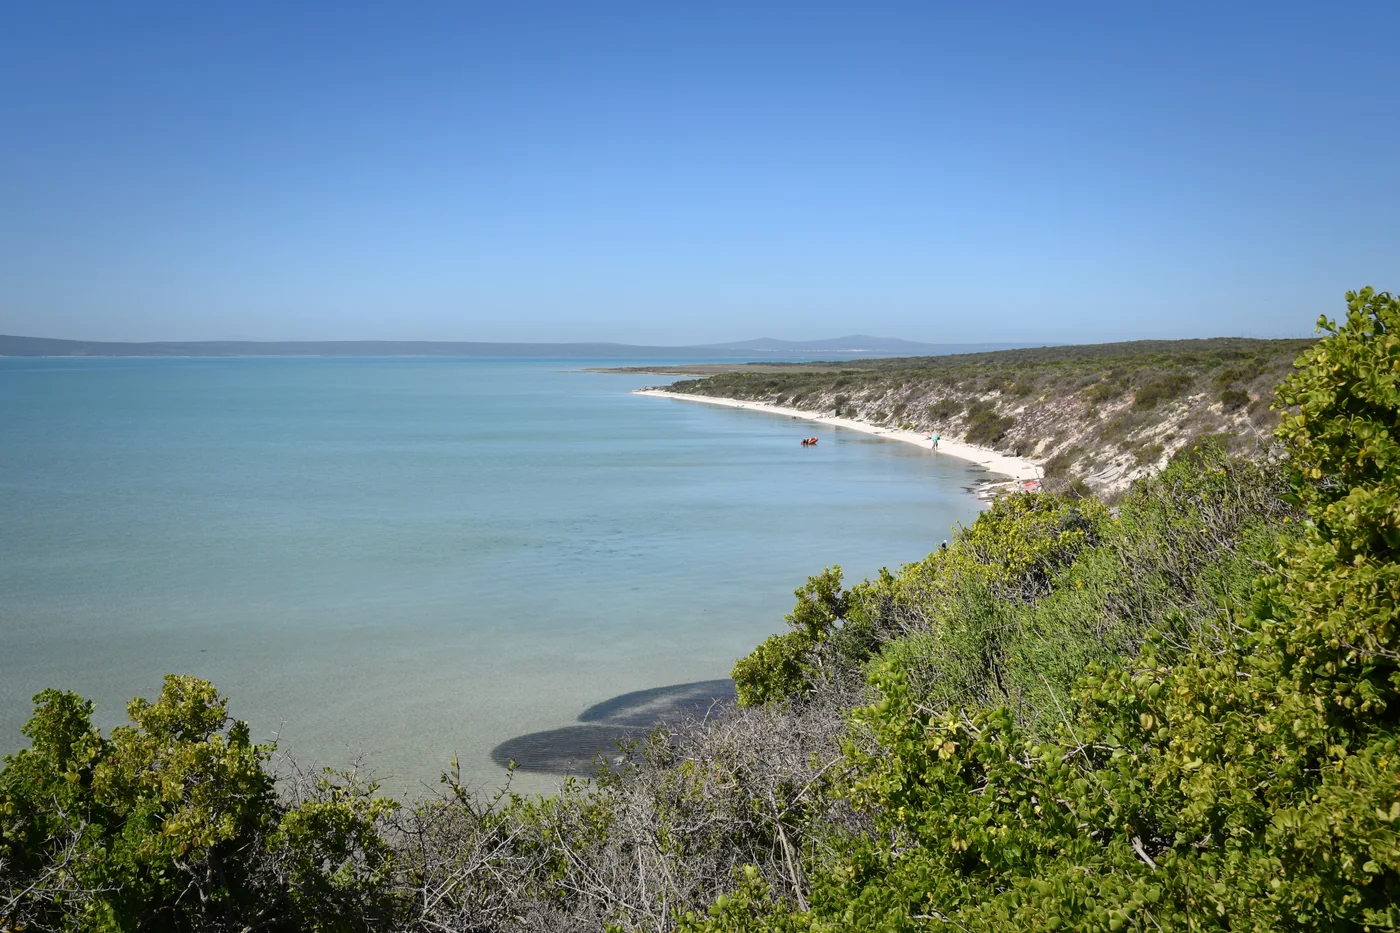
Photo by Raita Futo.
Original photograph · Creative Commons Attribution 2.0 (CC BY 2.0)
Changes: Resized and converted to WebP. Display crops vary with the page layout.
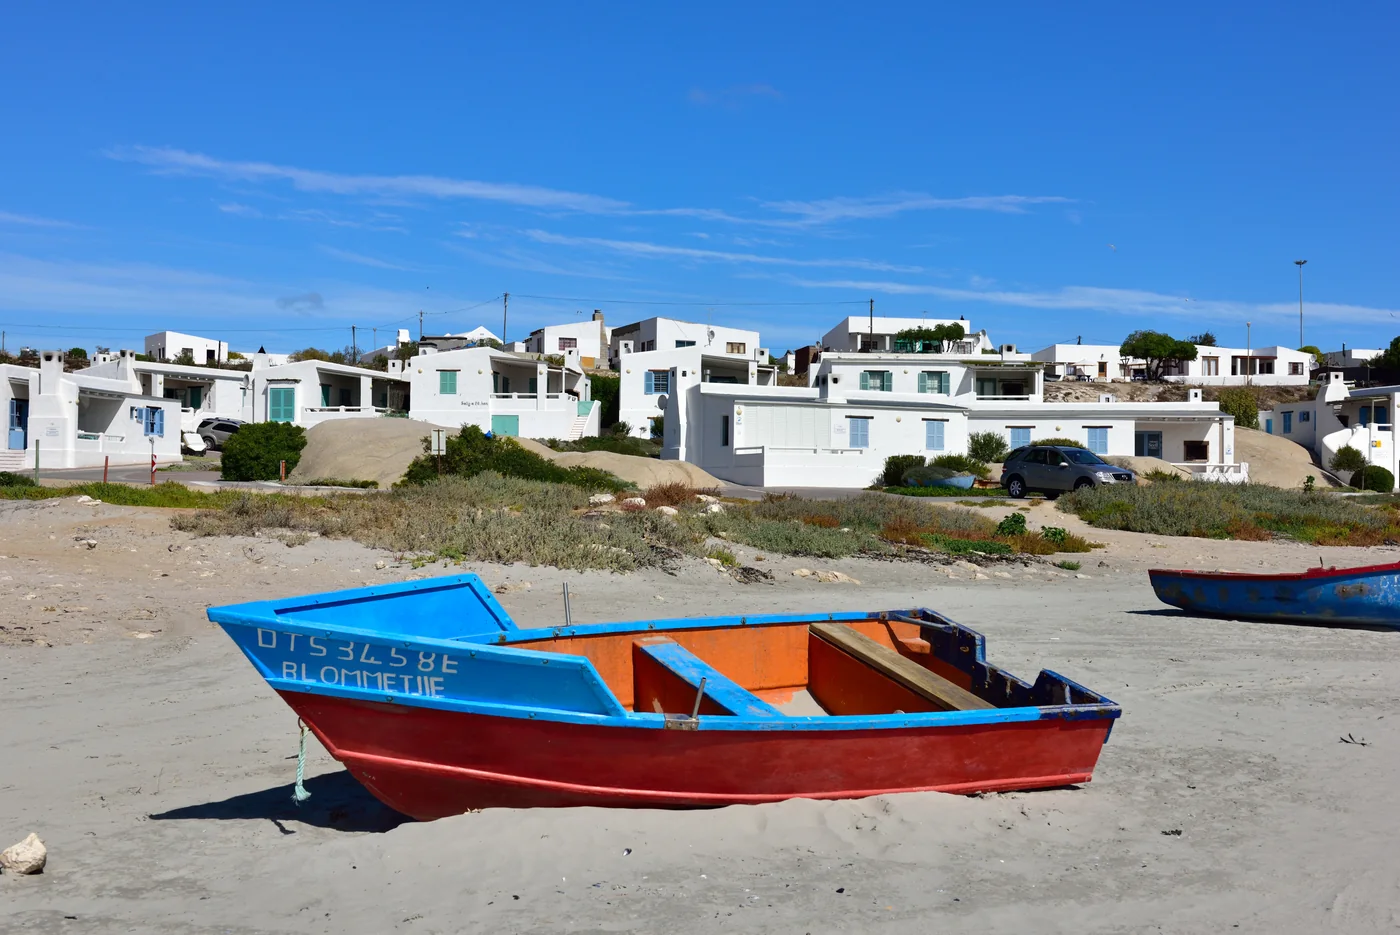
Photo by South African Tourism.
Original photograph · Creative Commons Attribution 2.0 (CC BY 2.0)
Changes: Resized and converted to WebP. Display crops vary with the page layout.
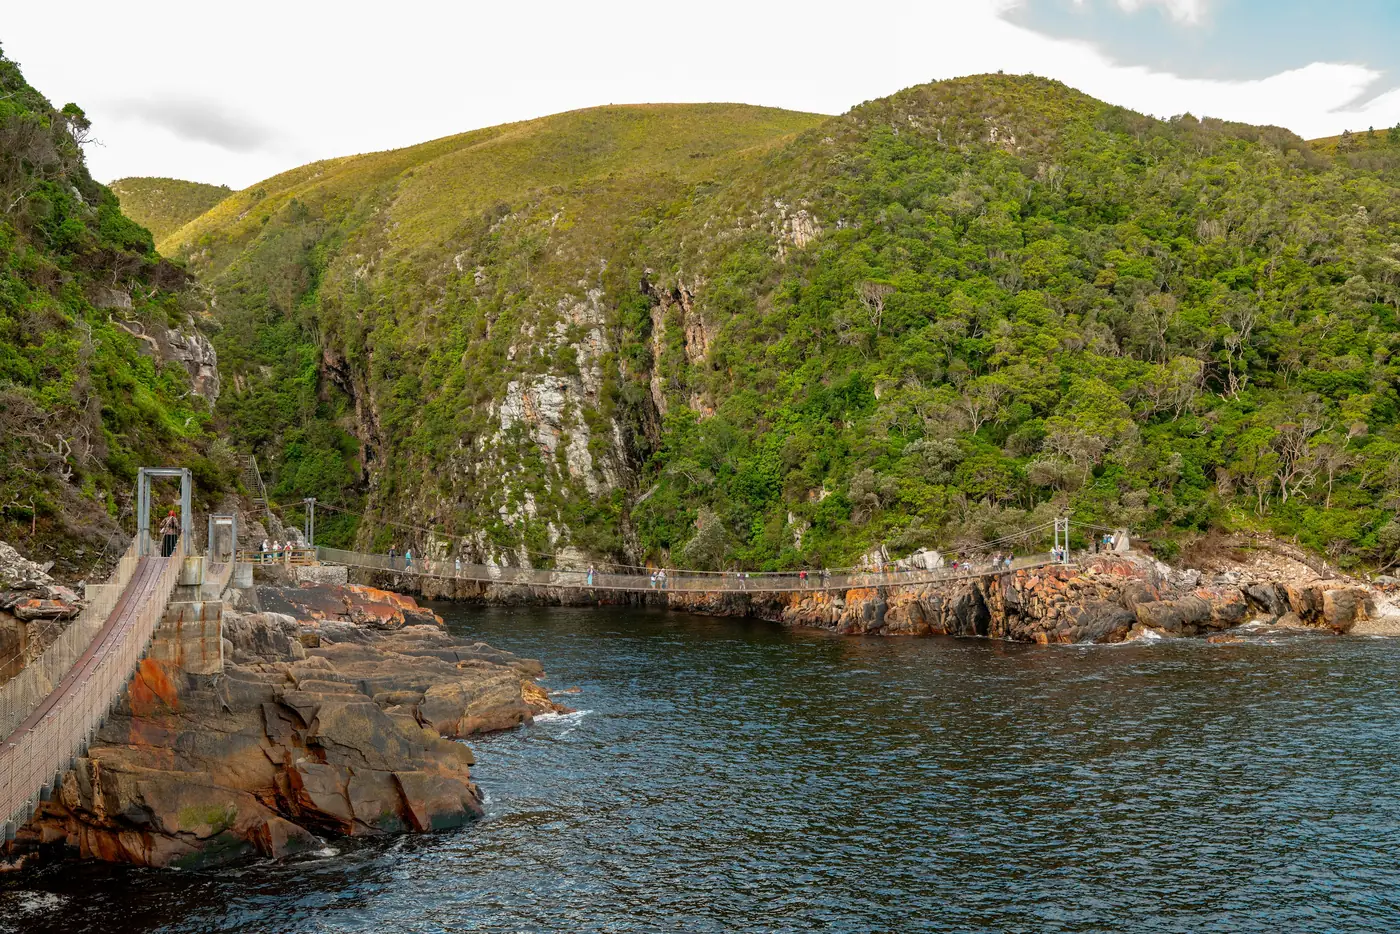
Photo by Matthias Wesselmann.
Original photograph · Unsplash Licence
Changes: Resized and converted to WebP. Display crops vary with the page layout.
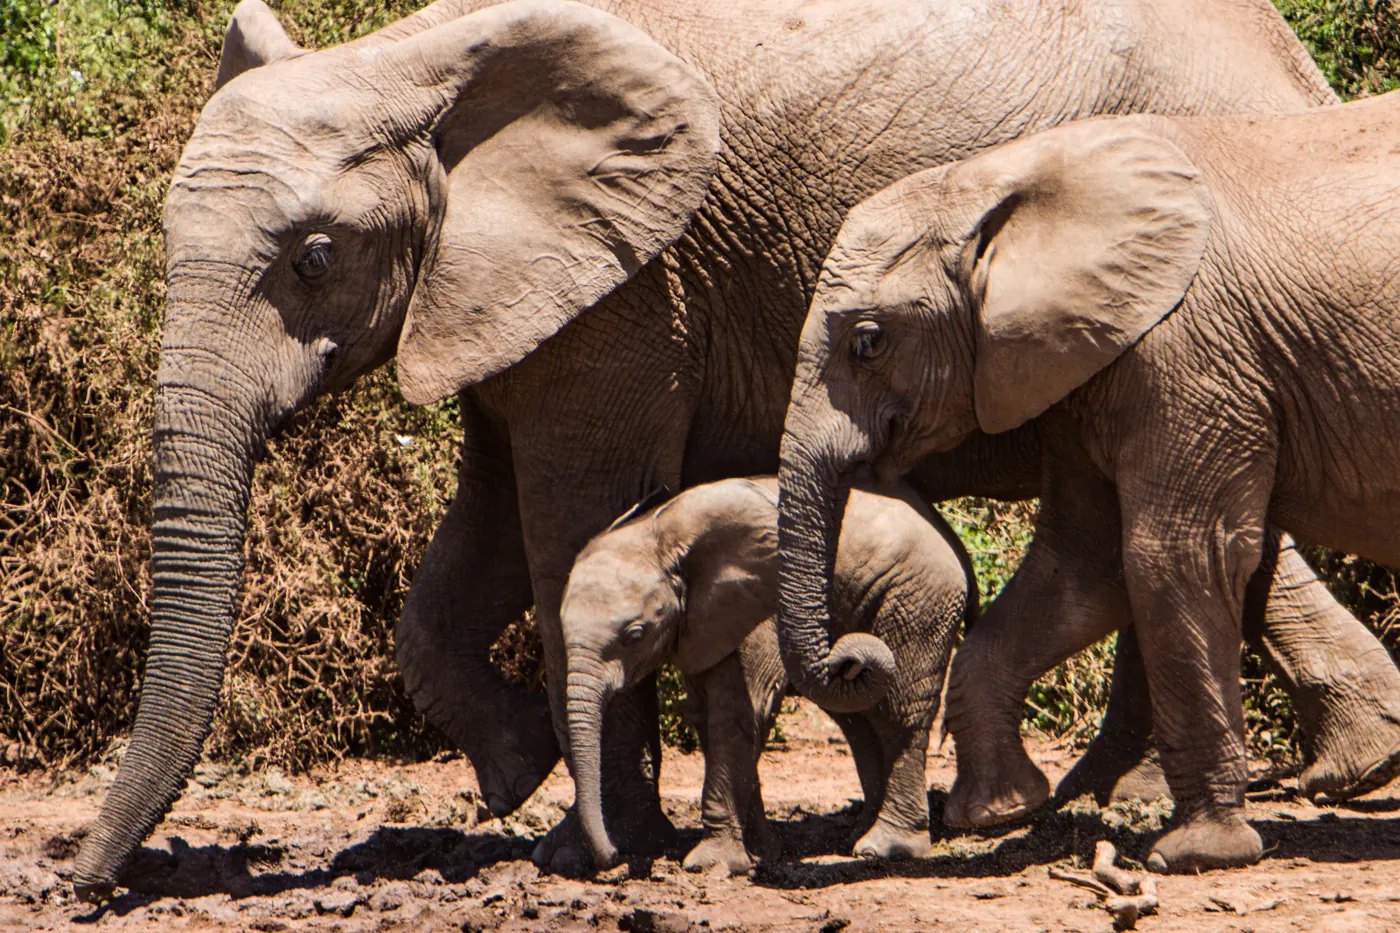
Photo by Tobin Rogers.
Original photograph · CC0 1.0 Universal Public Domain Dedication
Changes: Resized and converted to WebP. Display crops vary with the page layout.